Creating a supplier in Tourbiz (Activity › Suppliers)
Step-by-step tutorial for creating a supplier and understanding each field. Example used: a supplier named Demo.
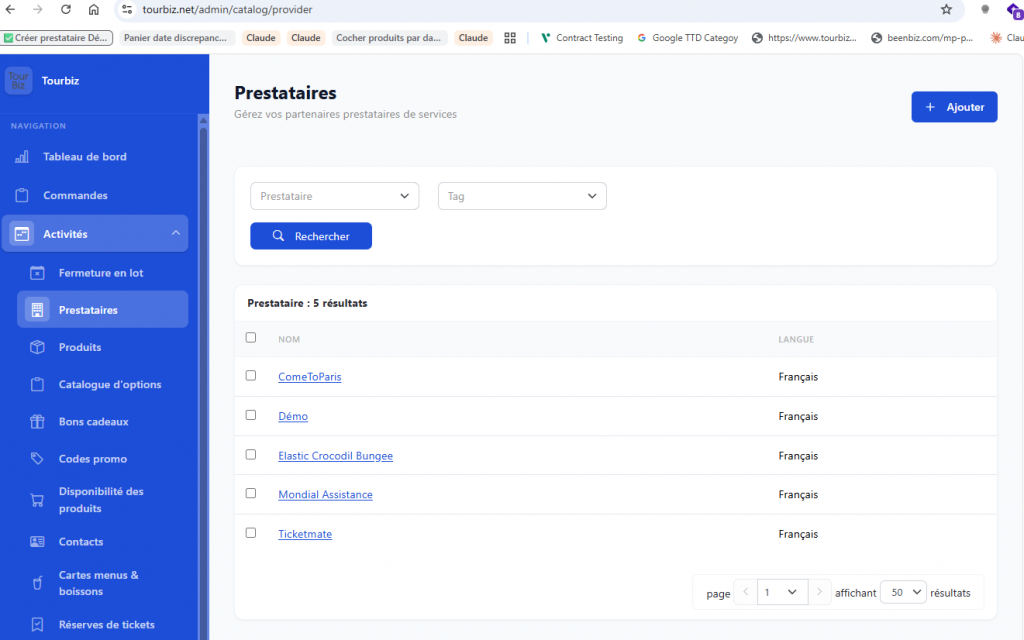
Step 1 — Access the module
In the left menu, expand Activity.
Click Suppliers.
At the top right, click the + Add button.
Step 2 — “Information” tab (main fields)
The form opens on the Information tab. On the left, 4 tabs: Information · Contact · Tag · POI.
⚠️Important: the Contact, Tag and POI tabs stay greyed out until the sheet has been saved once. So fill in the Information tab, then click Save to unlock them.
| Field | Required | Purpose |
|---|---|---|
| Name | ✅ | Supplier name (multilingual field). A green check confirms the entry. |
| Language | ✅ | Supplier’s main language (German, English, Spanish, French, Italian, Portuguese). |
| Country | ✅ | Supplier’s country (France by default). |
| Currency | ✅ | Reference currency (€ – EUR by default). Used for invoicing. |
| Website | — | URL of the supplier’s website. |
| Keyword | — | Internal keyword for search/filtering. |
| Analytic code | — | Accounting/analytic breakdown code (financial reporting). |
| Amadeus SKU | — | Amadeus link identifier (filled in automatically, not manually editable). |
| Voucher “footer” text | — | Multilingual rich-text editor: footer shown on exchange vouchers. |
| Logo | — | Supplier image. Formats: png, jpg, gif, bmp · 512×512 px min · 1 MB max. |
👉 Click Save. The title changes to the supplier’s name and the other tabs unlock.
Step 3 — “Contact” tab
Search Contact field: links a person from the existing Contacts database.
If no contact matches → “No results found” (create it first in the Contacts module).
Select the contact then Save.
Step 4 — “POI” tab
POI: point of interest / location associated with the supplier.
POI Name: name of the point of interest (multilingual field).
Useful when the supplier is tied to a specific geographic location. This field is picked up for Google Things To Do.
✅Result
After saving, the supplier appears in the Activity › Suppliers list with its language.
Quick recap
Information → identity + accounting data + voucher + logo (the only tab with required fields: Name, Language, Country, Currency)
Contact → linked person
Tag → classification / filtering
POI → associated location